Beginners guide to running photography:
No one:
Absolutely no body:
Me: I guess I got into photography when I went to race Leadville and bought my first camera for the road trip from L.A to Colorado.
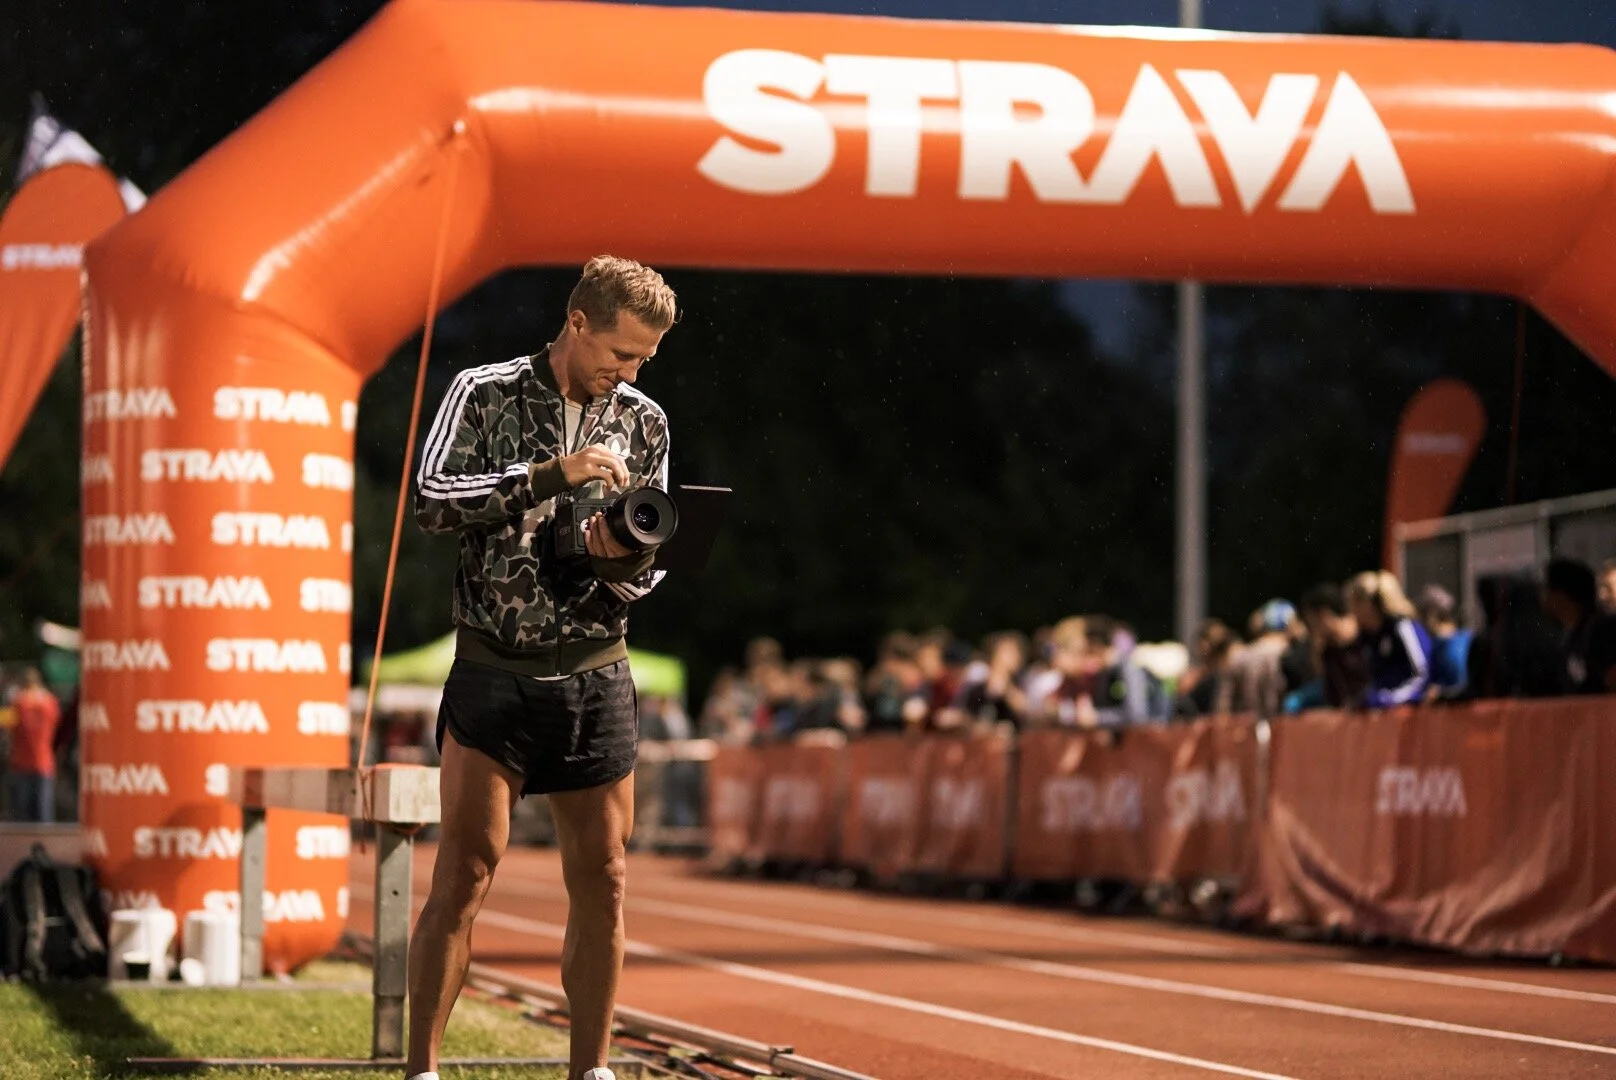
Night of the 10km PB’s social content
This is very much the truth of where it all started for me with photography and ultimately videography. The story and accompanying images from Leadville ended up in Like the Wind magazine, but most importantly I had one hell of an adventure.
Like the Wind.
That was 7 years ago. I’ve learnt a lot since then & with the need for more and better sports photography I want to share some info and tips ive learn along the way in a series of photography guides.
With the influx of brands looking to work with runners to make the most of their instagram and social exposure everyone needs high quality photography continent.
Shooting running photography is actually one of the more tricky sports to capture, because it requires a high shutter speed to ‘freeze’ the subject. With photography, if you want to use a high shutter speed, this means you will need more light. For the sake of this article we’re going to keep this simple and forget about framing, composition etc and just give you some tips for the setting which you’ll need for your camera so you can get out of the habit of shooting on AUTO.
Photography- the basics.
There are three factors when it comes to settings.
Shutter speed.
Aperture.
ISO.
Shutter speed is responsible for either the motion blur in a photo, or for capturing a completely frozen in time subject. The higher the shutter speed the sharper the image. TYPICALLY for running you will need a shutter speed of upwards of 1/800 upwards.
Shutter speed effects on runner
Aperture changes the depth of field of a photo. Either allowing for everything in the foreground and background to be in focus or just perhaps the foreground and a blurred background. Shooting running- its easier to get a photo in focus with a higher aperture 5.6 and higher (this however requires more sunlight). Shooting running with a low aperture, say F1.4 can easily result in ‘missing the shot’ and it actually being out of focus when you review them later. This is just due to the moving target.
Aperture effects on foreground/background
ISO is in theory the easy one- every camera will have a native ISO, if you can try to keep it set to this and don’t change it, it might be around 400. However if you’re shooting on a dark day, because you need a high shutter speed you might have to use a higher ISO. GENERALLY speaking ISO should be AS LOW AS POSSIBLE. Th eISO is the camera digital way to boost light but this can have a negative impact on the quality of a photo. When you leave your camera on AUTO- it will always boost the ISO just to be on the safe side.
The higher the ISO the more damage to the photo
Im not joking when I say that I printed these diagrams out for my first ever trip to shoot photography. These are the basics and when you leave your camera on AUTO or Sports mode the camera itself will make these decisions for you. The truth is that there is nothing too much wrong with that, but learning how to control your camera will give you better results for your social.
A few PRO TIPS:
Depending on your camera set up- only ever shoot 1-3 photos at a time while holding the shutter button down.
Setting a focus point is a great way to guarantee at least one photo will be in focus.
Have your runner run through the shoot multiple times before even having a look at the results.
You can boost the ISO if you’re using the photo just for a social post and its always going to sit as a tiny square on instagram.
There’s so much you can do with photography and next time i’ll explain a few scenarios and the settings that you might want to use. hit me up if you have any burning Q’s.
Max


